In this post I’ll be walking through how to run a vSphere lab in VMware Workstation. I recently decided to obtain VCP6-DCV. Rather than driving up my electric bill like I’ve done in the past using physical servers, I’m attempting to run the entire lab on my workstation and a Synology NAS.
If you’ve ever installed ESXi, installing it in Workstation will be a familiar process for you. VMware tools is included in the installation disc, which makes installing ESXi in Workstation dramatically easier than it used to be. . The process is very simple, so I won’t be going through those steps here unless someone asks me to in the comments. I also will not be going through the process of installing Windows Server or configuring a domain controller/DNS/DHCP, as I am sure you have done so in the past if you are reading this.
So that really only leaves us with installing vCenter. Most of the blogs I found for installing vCenter in VMware Workstation 12 were not accurate, and often left me with a broken installation. The process is somewhat straight-forward when deploying from the OVA. Let’s get started.
First, download the OVA for vCenter here: Download vCenter
Once the download has completed, click File > Open in Workstation. Browse to the OVA, then give your new VM a name and location if necessary. Accept the EULA when prompted.
Be sure to read it! 😎
Once the OVA finishes importing, do not power on the VM! There is some customization we need to do first. Close Workstation if it is open. Browse to the location on your PC that you imported the VM to. I’m using a Windows OS, so I will use File Explorer. Open the .VMX file (use Notepad or another text editor):
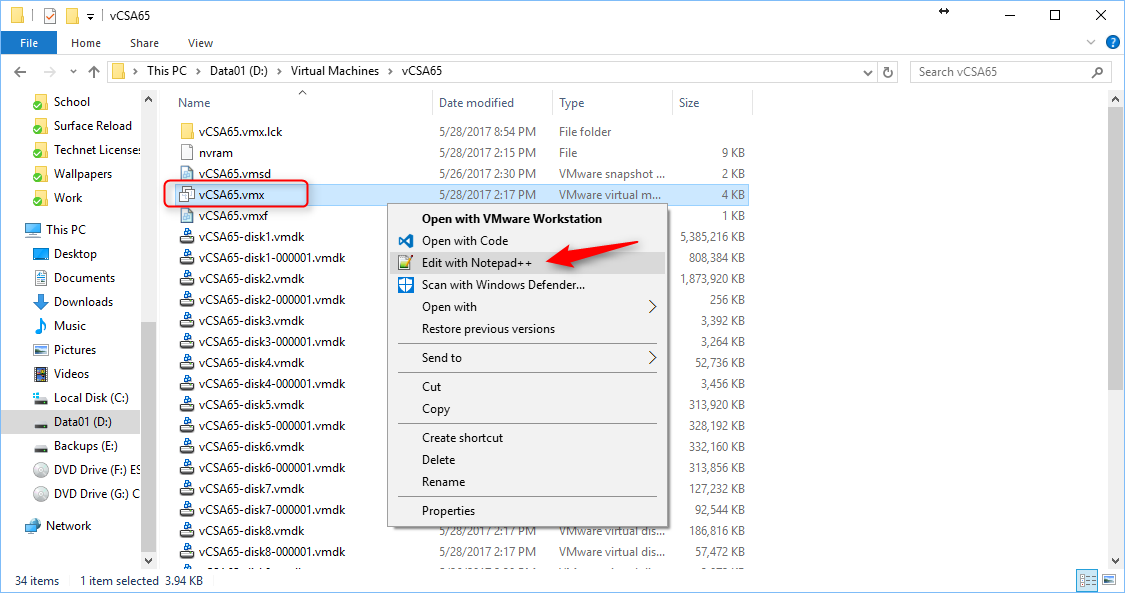
This is the configuration file for your virtual machine. We can use it to customize the name, IPv4/6 details, DNS domain, etc. Scroll down to the last line of text, and paste this in:
guestinfo.cis.vmdir.password = “vmware!”
guestinfo.cis.appliance.net.addr.family = “ipv4”
guestinfo.cis.appliance.net.addr = “10.0.0.15”
guestinfo.cis.appliance.net.prefix = “24”
guestinfo.cis.appliance.net.mode = “static”
guestinfo.cis.appliance.net.dns.servers = “10.0.0.10”
guestinfo.cis.appliance.net.gateway = “10.0.0.1”
guestinfo.cis.appliance.root.passwd = “vmware!”
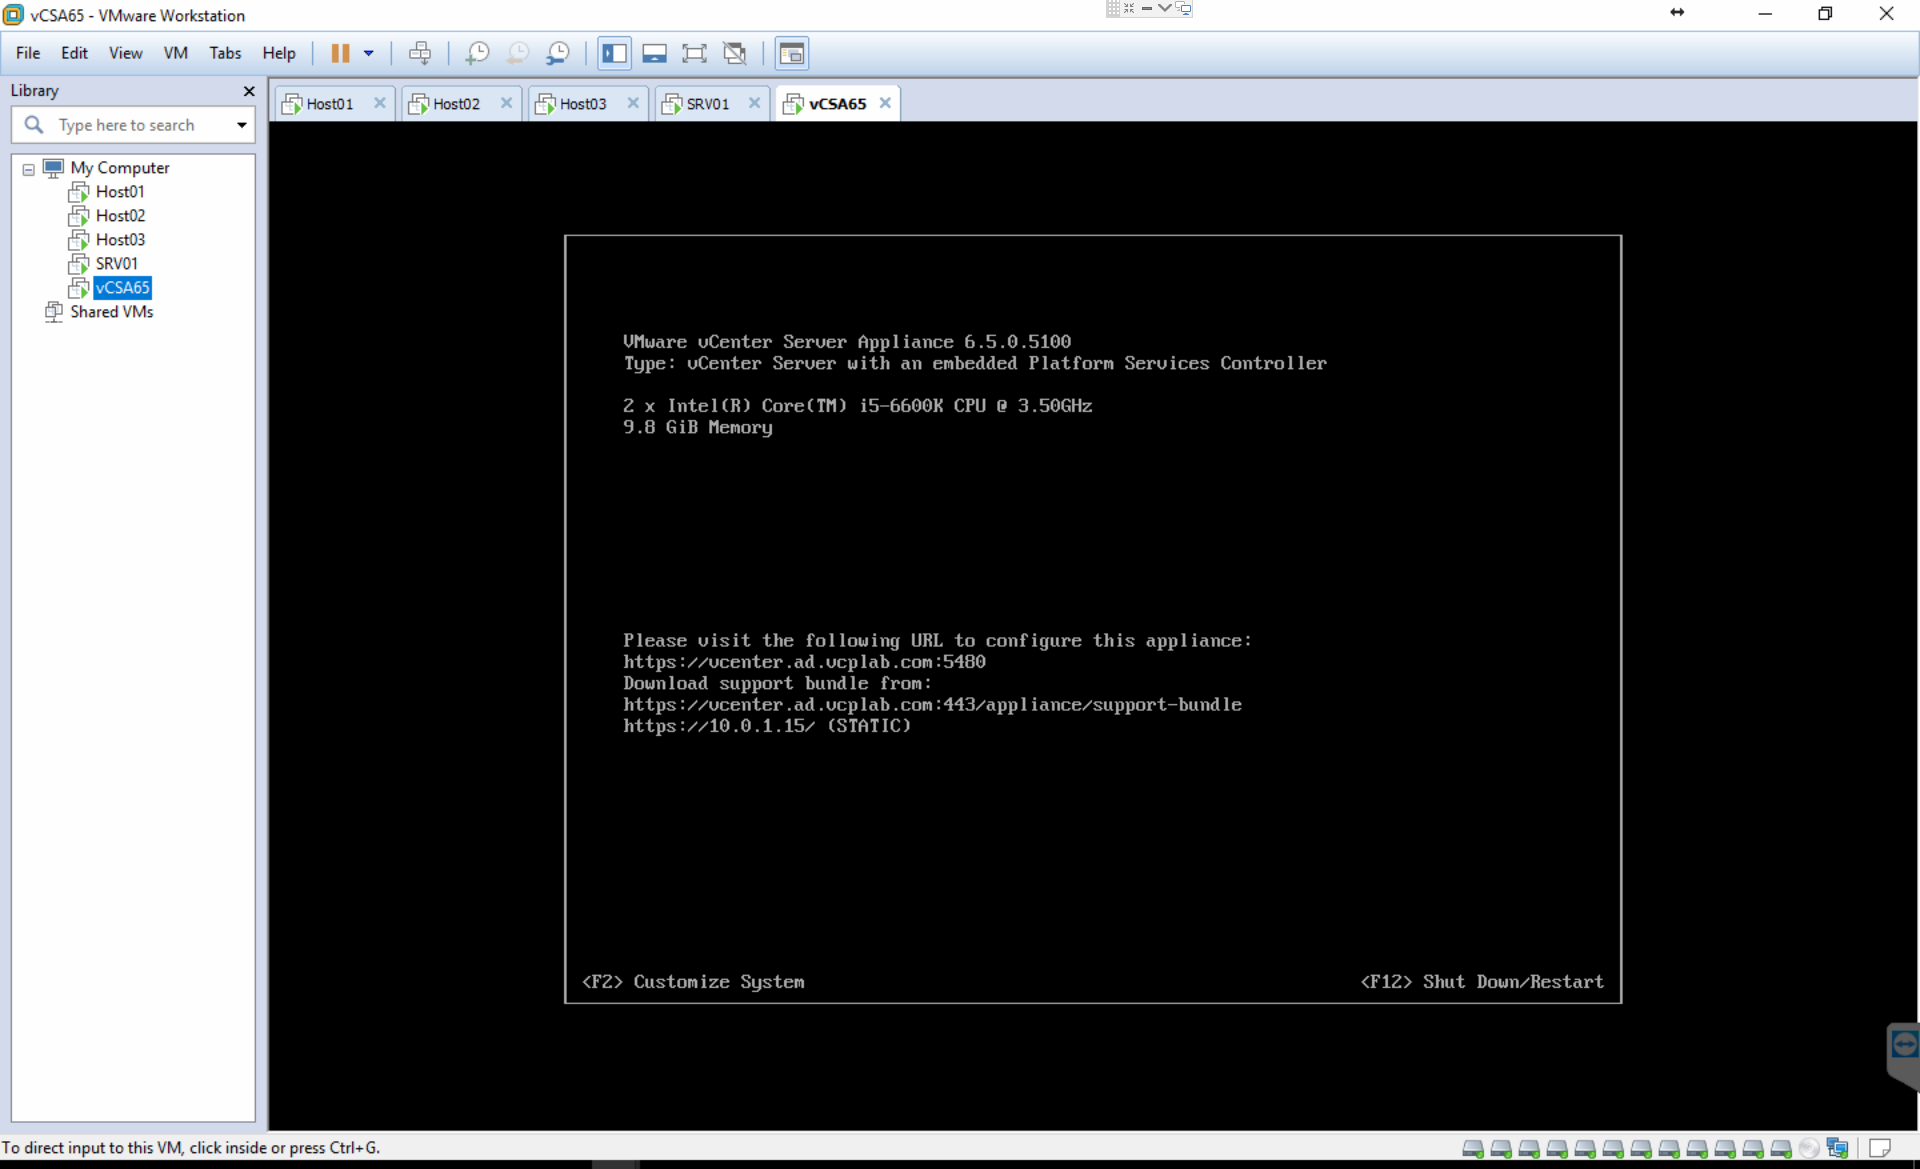
Customize the above code to your needs. You will likely need to change the IPv4 details. Save the .VMX file and close your text editor. Now you can power on the virtual machine, and vCenter will run through the installation process. The installation can take around 10-15 minute in my experience. You may see generic login screens during the installation of Photon, do not login or interrupt the installation. Once it is complete, you should see the DCUI below:
You should now be able to browse to the IP address or DNS name of your vCenter server. Once you complete the configuration, you can login and see the page below:
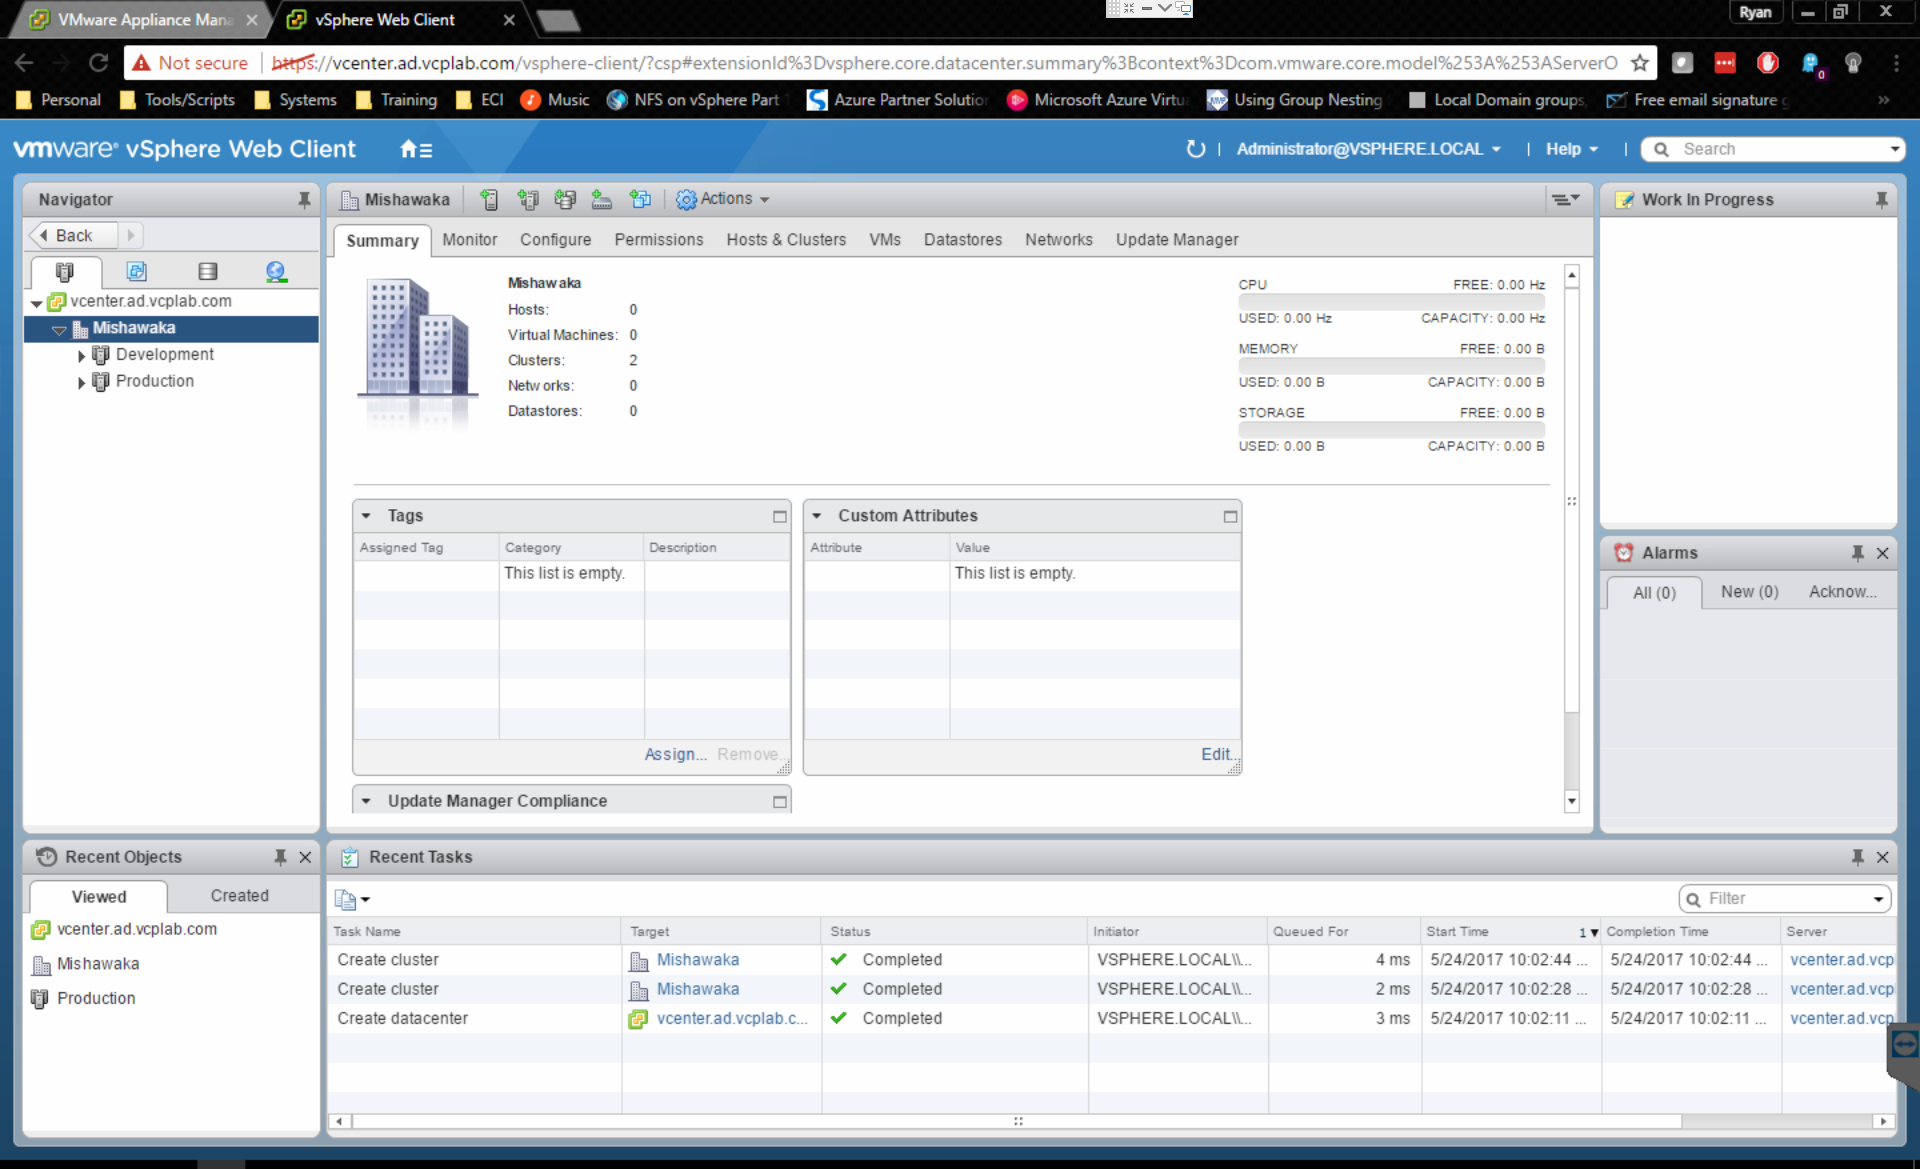
In my lab I am running 3 ESXi hosts, 1 Windows Server, and one vCenter server. Plenty to study for the VCP lab.
Good luck and be sure to leave a comment if you have any questions!