In this article, we’ll take a quick look at building a Golang app with Github actions. This process can be applied to just about any app written in any language though. We’ll cover the following:
- What are github actions?
- Setting up the workflow to build, test, and deploy a binary
Github Actions is a cross-platform CI/CD pipeline that allows you to build, test, package, and release your software. Actions can be triggered manually or based on events that happen within your Github repo. They are powerful and I suggest you read more at the Official Docs
To get started, we’ll need a golang app to build. You can use my example here if you do not have your own.
The process is relatively simple. At the root of your repo, create the following directories:
mkdir -p .github/workflows
Then create a yaml file (you can name it anything you want) with the content below:
name: build-release-binary

run-name: Create Github Release for GoLang binary

# anytime we push to our repo with a tag starting with the
# letter 'r', we run the build
on:
  push:
    tags:
    - 'r*'

jobs:
  build:
    runs-on: ubuntu-22.04
    permissions:
      contents: write
    steps:
    # checkout our github repo to the build agent
    - uses: actions/checkout@v3
      with:
        fetch-depth: 0 # get all tags, needed to get git log
        ref: main

    # Setup the Go environment
    - name: setup Go Lang
      id: build
      uses: actions/setup-go@v3
      with:
        go-version: '^1.19.2'

    # Build our application
    - run: |
        go version
        cd src
        if [ ! -e *.mod ]; then
          go mod init ${GITHUB_REPOSITORY}
        fi
        go mod tidy
        go build -ldflags "-X main.Version=${GITHUB_REF_NAME} -X main.BuiltBy=github-actions" main.go
        execFile=$(find . -type f -executable)

    # Output more values for debugging
    - run: git version
    - run: git branch
    - run: git tag

    # tag our release
    - name: get semantic tag version and release notes from commit messages
      id: tag
      run: |
        currentTag=${GITHUB_REF_NAME}
        major_minor=$(echo "$currentTag" | cut -d'.' -f1-2)
        patch=$(echo "$currentTag" | cut -d'.' -f3)
        # avoid empty patch number
        [ -n "$patch" ] && ((patch--)) || patch=".x"
        previousTag="${major_minor}.${patch}"

        echo "" > body.log
        if git tag | grep $previousTag ; then
          git log -q ${currentTag}...${previousTag} --pretty="- %s" -q --no-color >> body.log
        else
          git log --pretty="- %s" -q --no-color >> body.log
        fi
        line_count=$(cat body.log | wc -l)

        echo "currentTag=$currentTag" >> $GITHUB_OUTPUT
        echo "previousTag=$previousTag" >> $GITHUB_OUTPUT
        echo "line_count=$line_count" >> $GITHUB_OUTPUT

    #  create Github release with release note from file and binary asset attached
    - uses: ncipollo/release-action@v1
      with:
        name: ${{ env.GITHUB_REF_NAME }}
        tag: ${{ env.GITHUB_REF_NAME }}
        artifacts: "src/main"
        bodyFile: "body.log"
        token: ${{ secrets.GITHUB_TOKEN }}
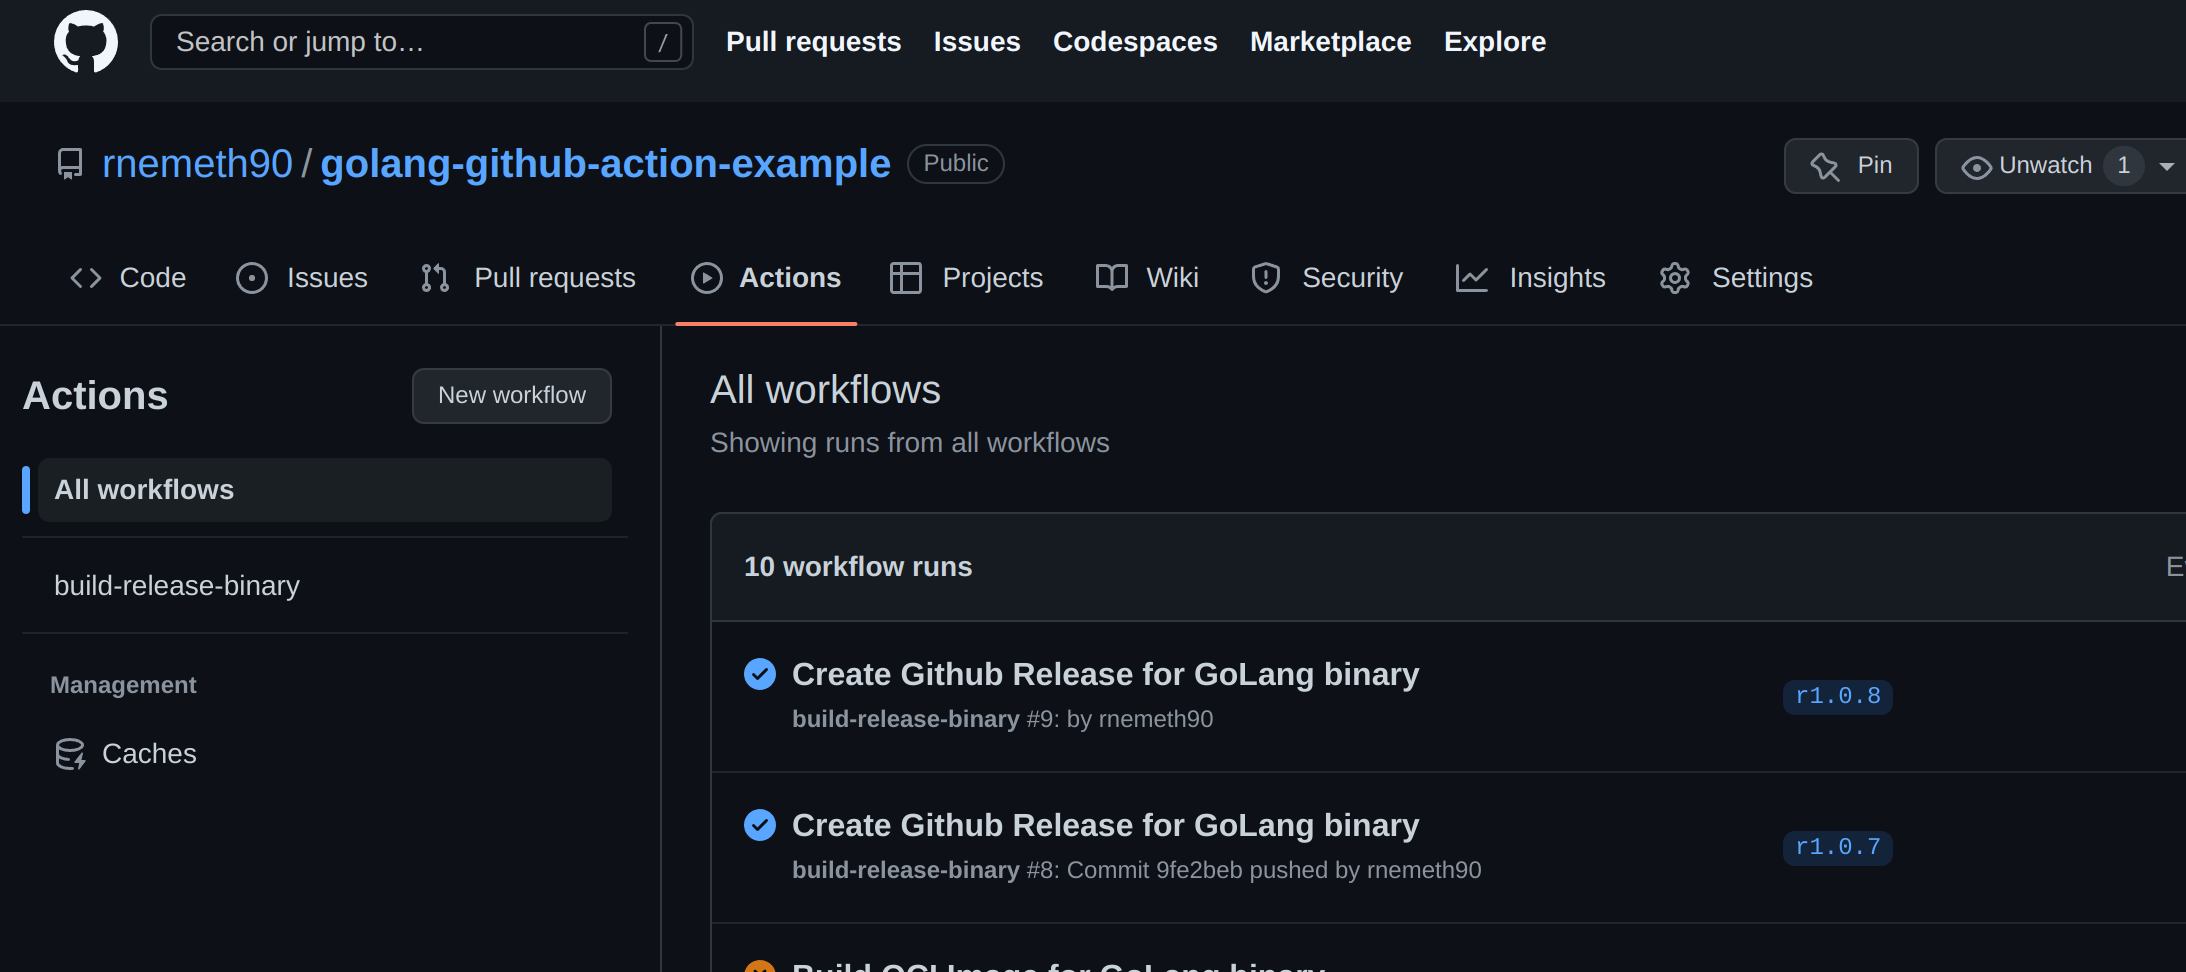
Each step within this workflow starts with a hyphen. The steps are well-commented, so I will not explain them further. Once you have this file in your repo, push it to github. Then navigate to the Actions tab in your repository and you should see your workflow on the left hand side of the screen.
Now that we have our workflow setup, to get it run, all you need to do is tag and push your release to github. To do that, you can run the script in my repo create_new_gh_release.sh or simply run the following commands (be sure to change the tag as needed):
newtag=r1.0.0
git tag $newtag && git push origin $newtag
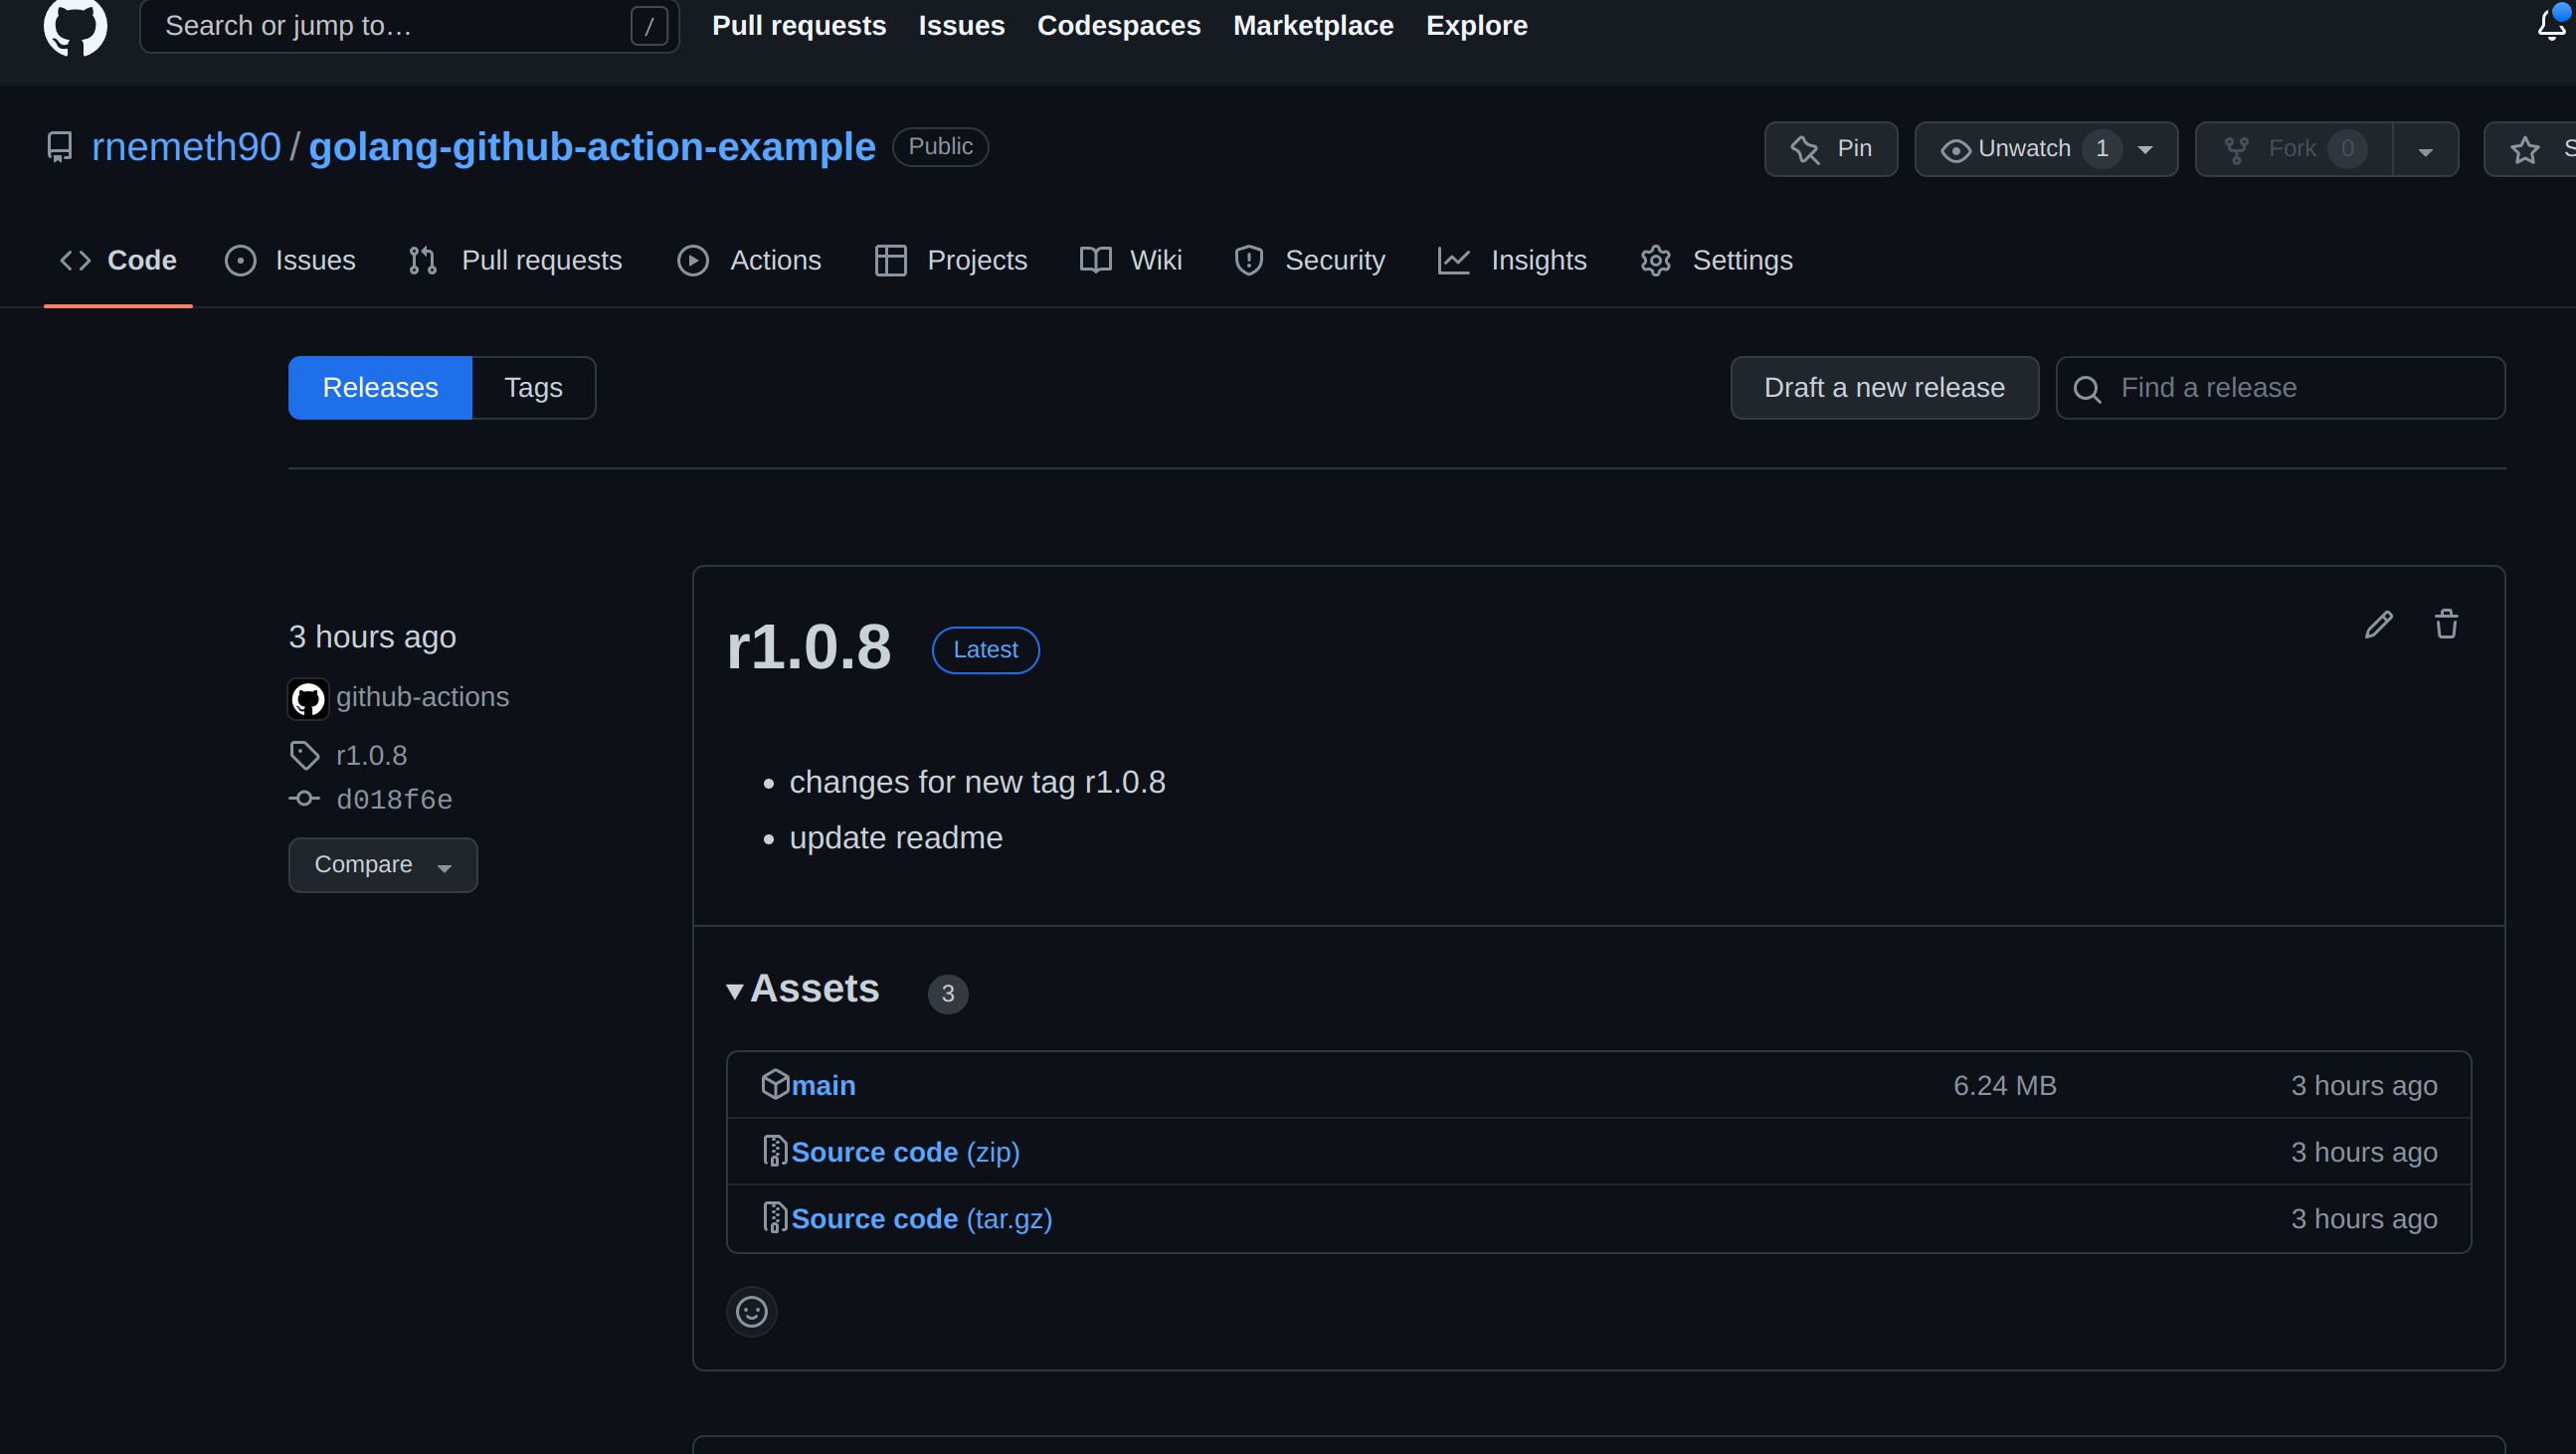
Now, go back to the Actions tab in your repo, and you should see the build running. Once it completes, go back to the Code tab in your github repo and you will see the release on the right hand side of the screen.