I’m not really a fan of photography. I don’t particularly enjoy the intracies of tuning a high-end DSLR camera. Nor am I a fan of being out in nature to photograph a fall sunrise (though, that does sound peaceful). However, I do take a lot of pictures with my phone (currently, a Pixel 6). Moreso now that I am a new father. I am protective of these photos. So much that I sync them automatically from my phone to two cloud storage providers. I thought the other day, how painful it would be for either of these cloud storage providers to go offline. Though unlikely, anything is possible, right?
So, like any good engineer, I started looking for a solution for this concern. I have 2 Synology NAS devices here at my home. Calling a Synology a NAS is almost an insult. They are much more than that. Though they specialize in storage, they provide a plethora of apps that extend the functionality of the device. A Synology device can provide storage, email, DNS, media, etc. services though OEM and third-party apps. A single device can also link up with other devices to form a highly-available mesh of Synology services. Pretty neat for just a little black desktop box! Anyway, I’m not a Synology salesman, so let’s get back on track…
I wanted to be able to have a local copy of all of my photos (and other files) that are currently synced to the cloud. I then wanted to backup this local copy to another remote location (something like a 3-2-1 backup architecture, but not really…). Synology provides an app called Cloud Sync that can be used to sync files from a cloud storage provider like Google Photos/Drive or Microsoft OneDrive to a local device. They also provide another app called Hyper Backup that can be used to backup local files to remote storage, like an Azure Storage Account or Amazon S3 Bucket. By now, you probably get where this is going.
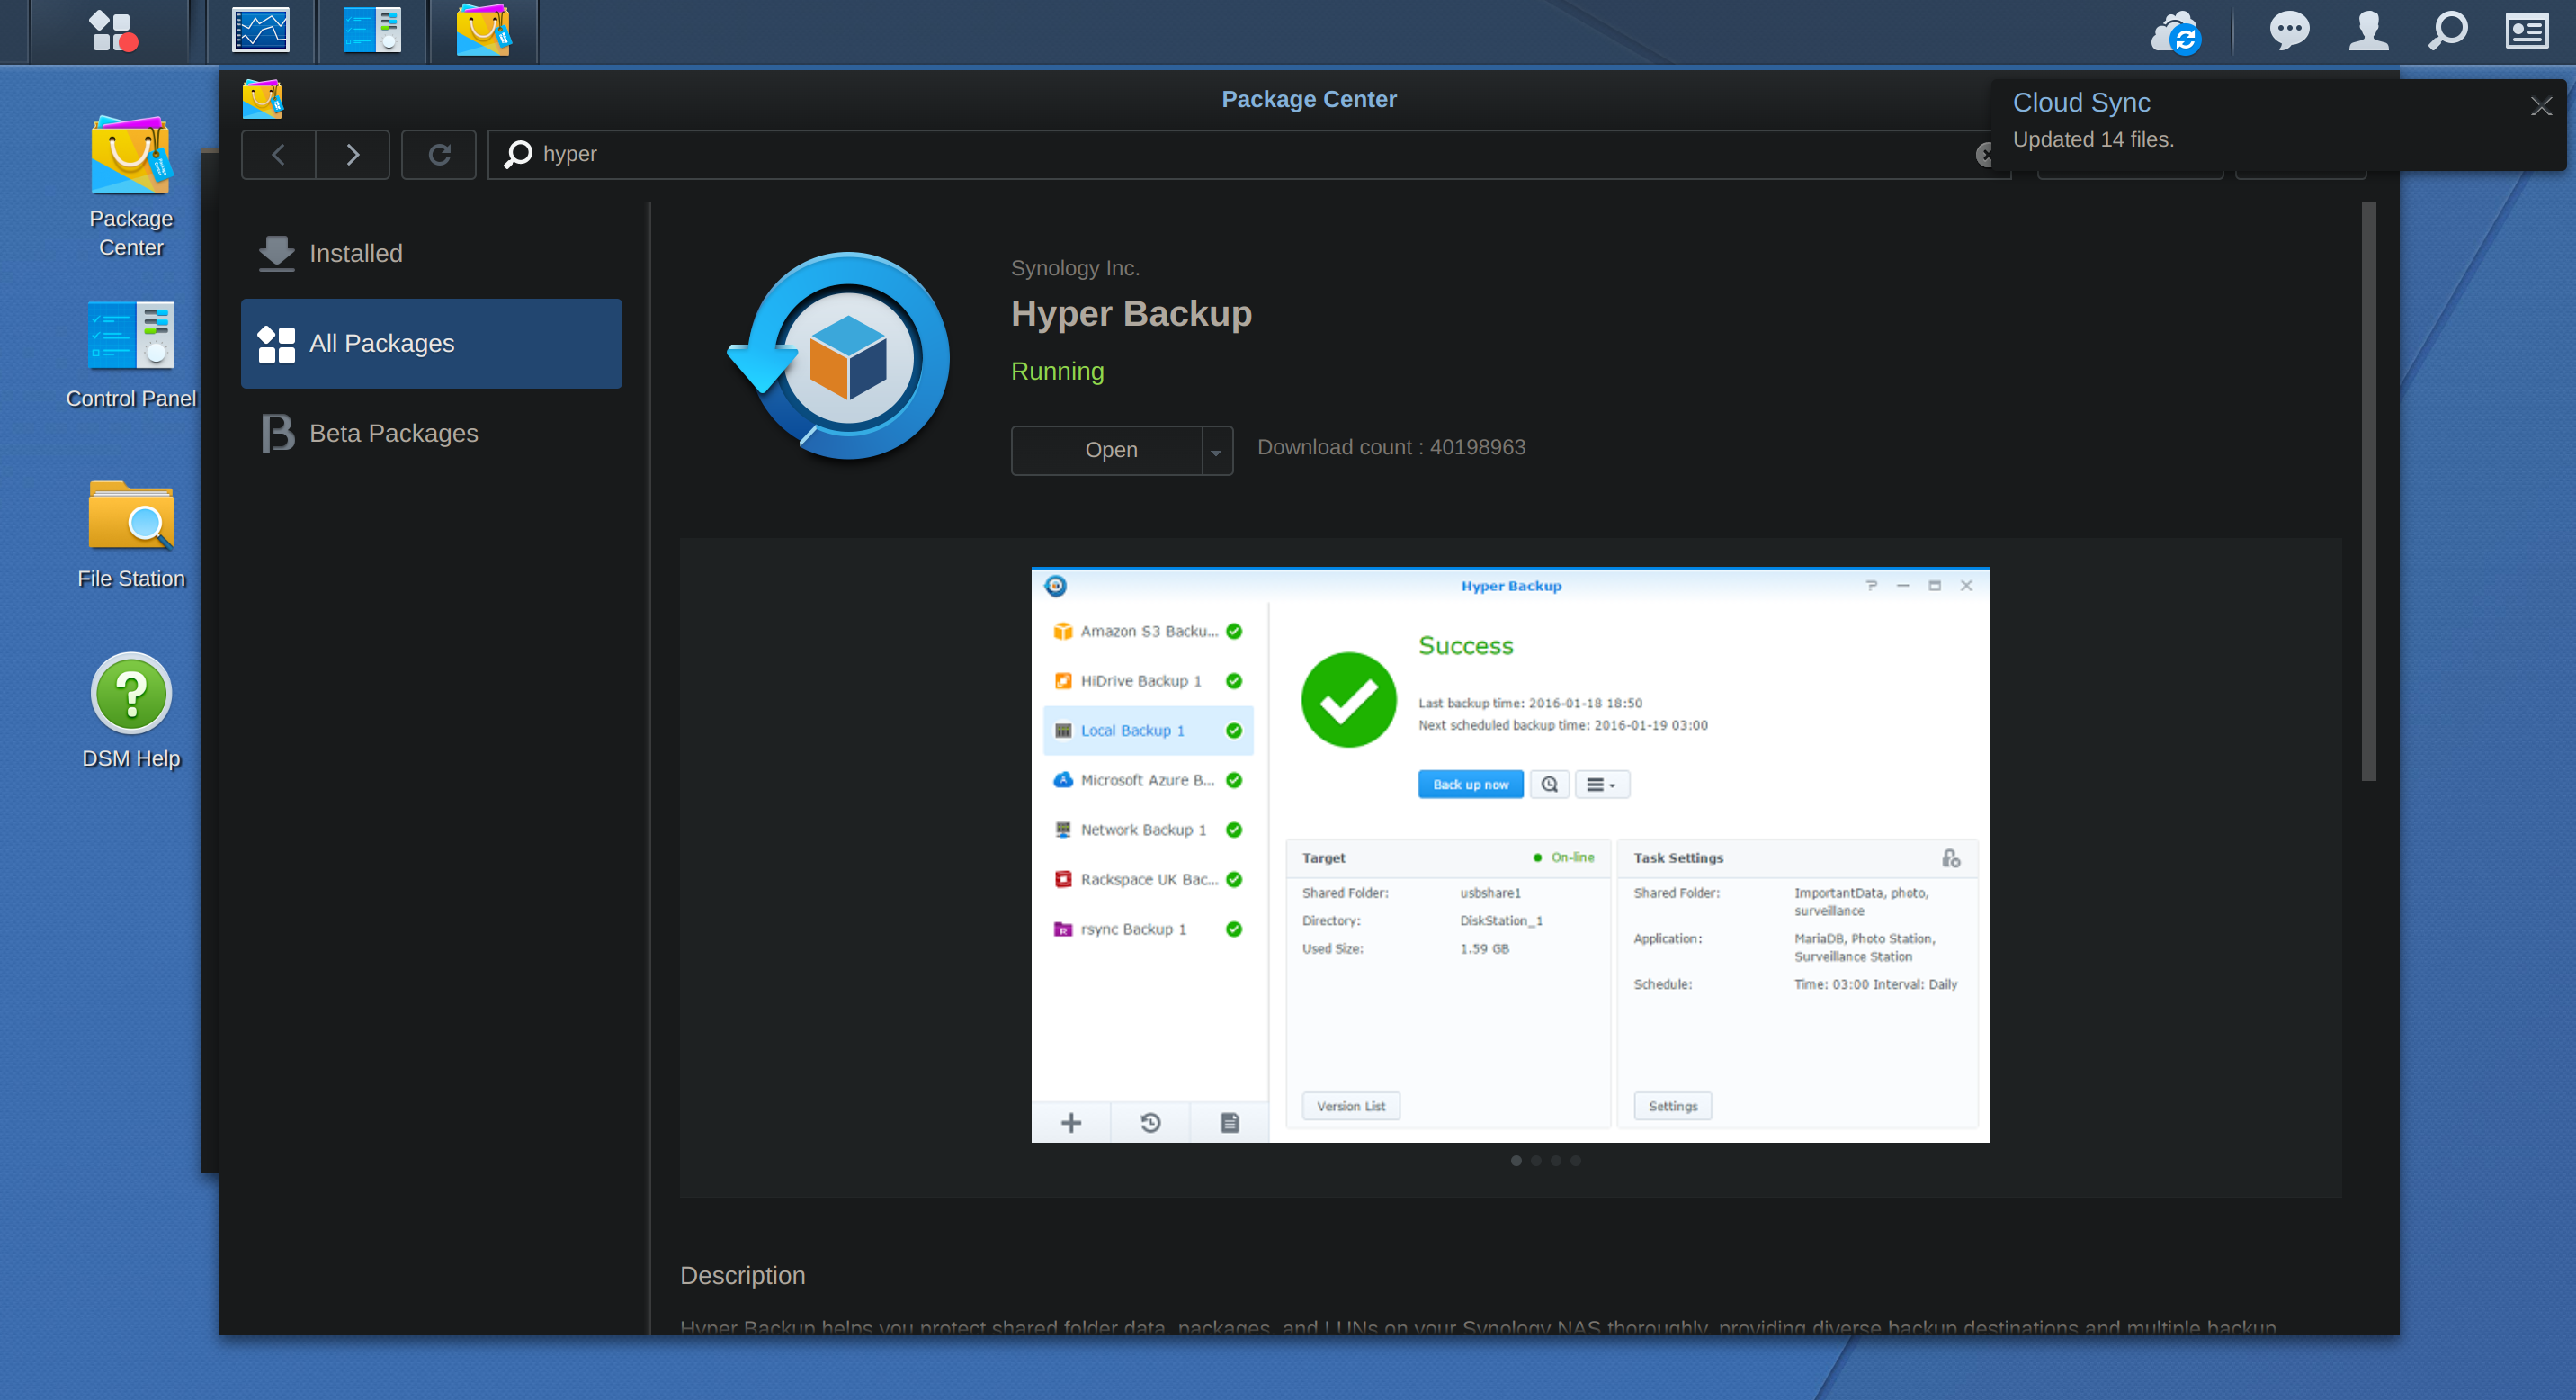
I’m going to configure Cloud Sync to pull files down to my Synology and then use Hyper Backup to push a weekly backup to Azure Blob Storage. Let’s dive in! If you’re following along, you’ll need to install both of these apps. They are available via One-Click install in the Synology Package Center, so I won’t cover the installation process. The setup is extremely simple as well, but I’ll go over it just because.
We’ll first setup Cloud Sync. Open Cloud Sync and click the ‘+’ symbol to add a new account.
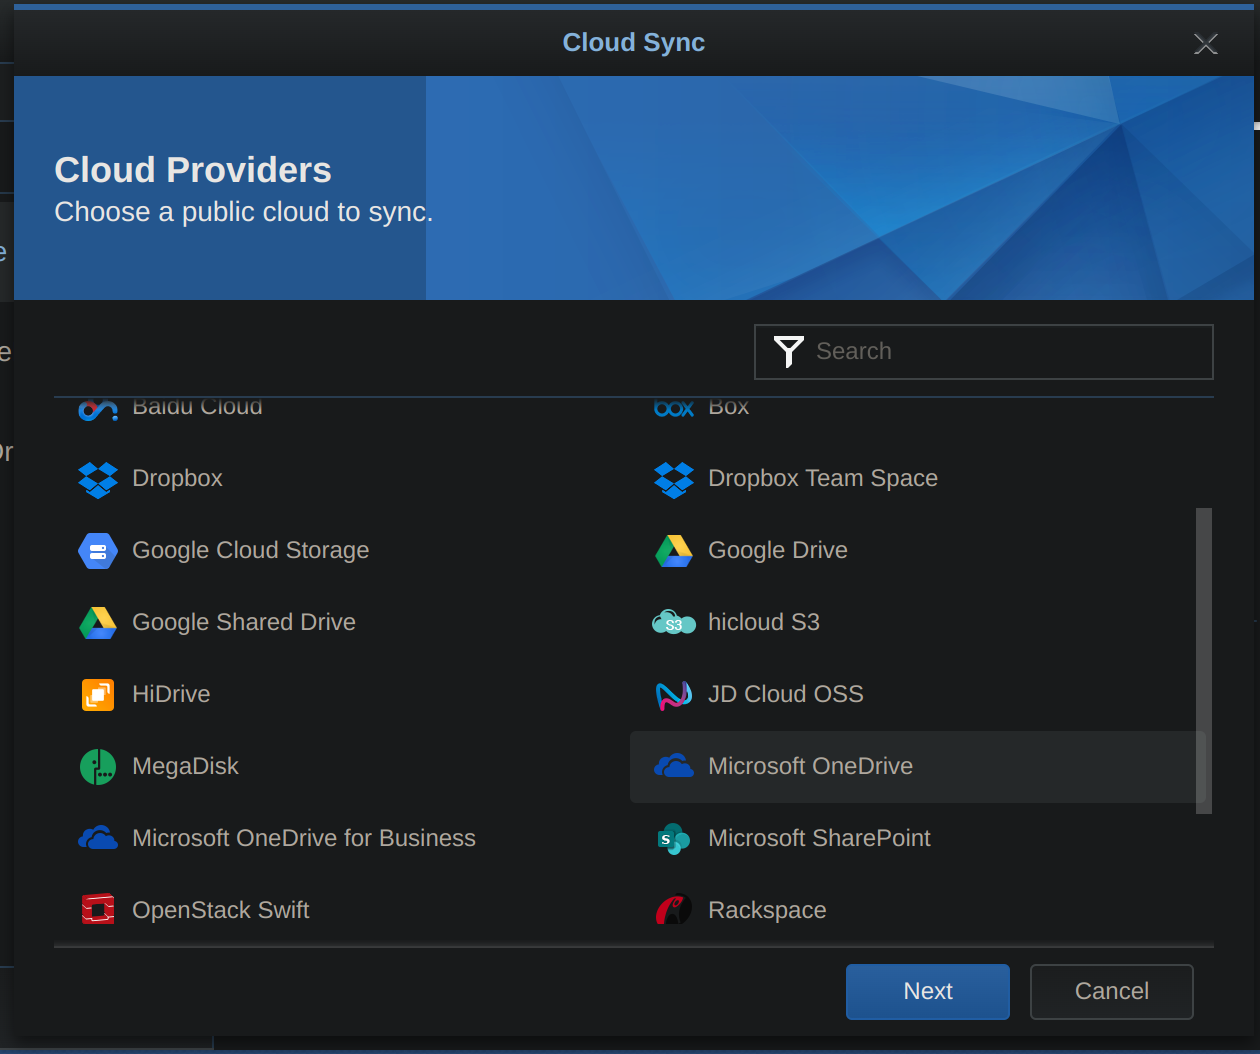
For my purposes, I’m going to choose Microsoft OneDrive:
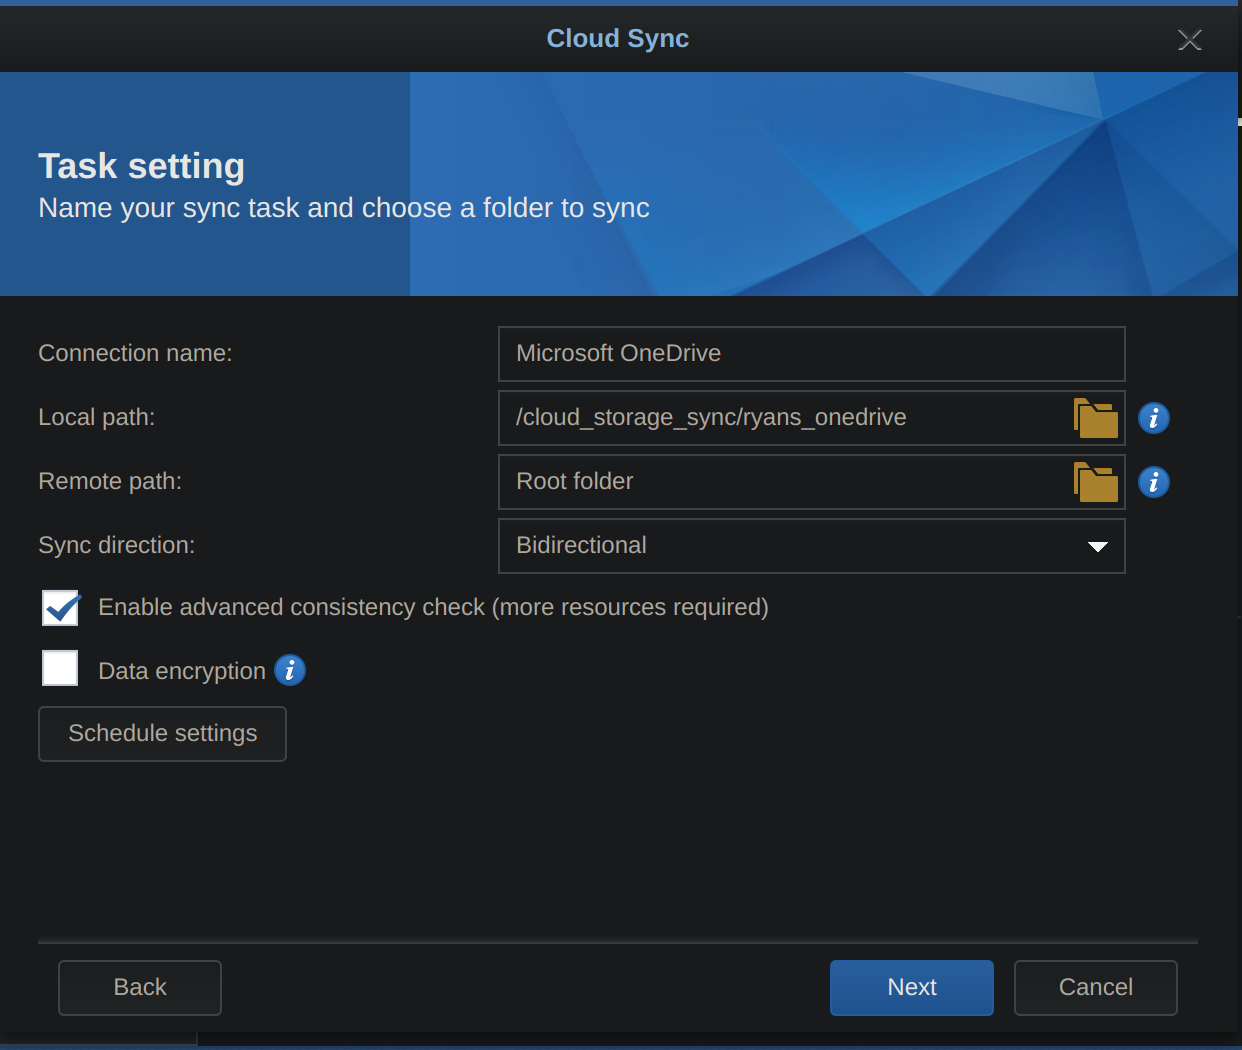
When prompted to authenticate, login to your OneDrive account. Then, configure the sync settings. You can create a name for the connection, add a local path in which to sync your files to, choose which remote folders/files to sync, the sync direction, a schedule, etc.
Click Next, and then finish the wizard. Simple.
Depending on the amount of files you have, you’ll need to allow some time for your files to sync.
Now, we’ll setup Hyper Backup to backup the files you sync’d locally to remote storage. As stated previously, I’ll be backing up my files to Azure Blob Storage. I have already created the Storage Account in Azure, and will not be covering that in this article.
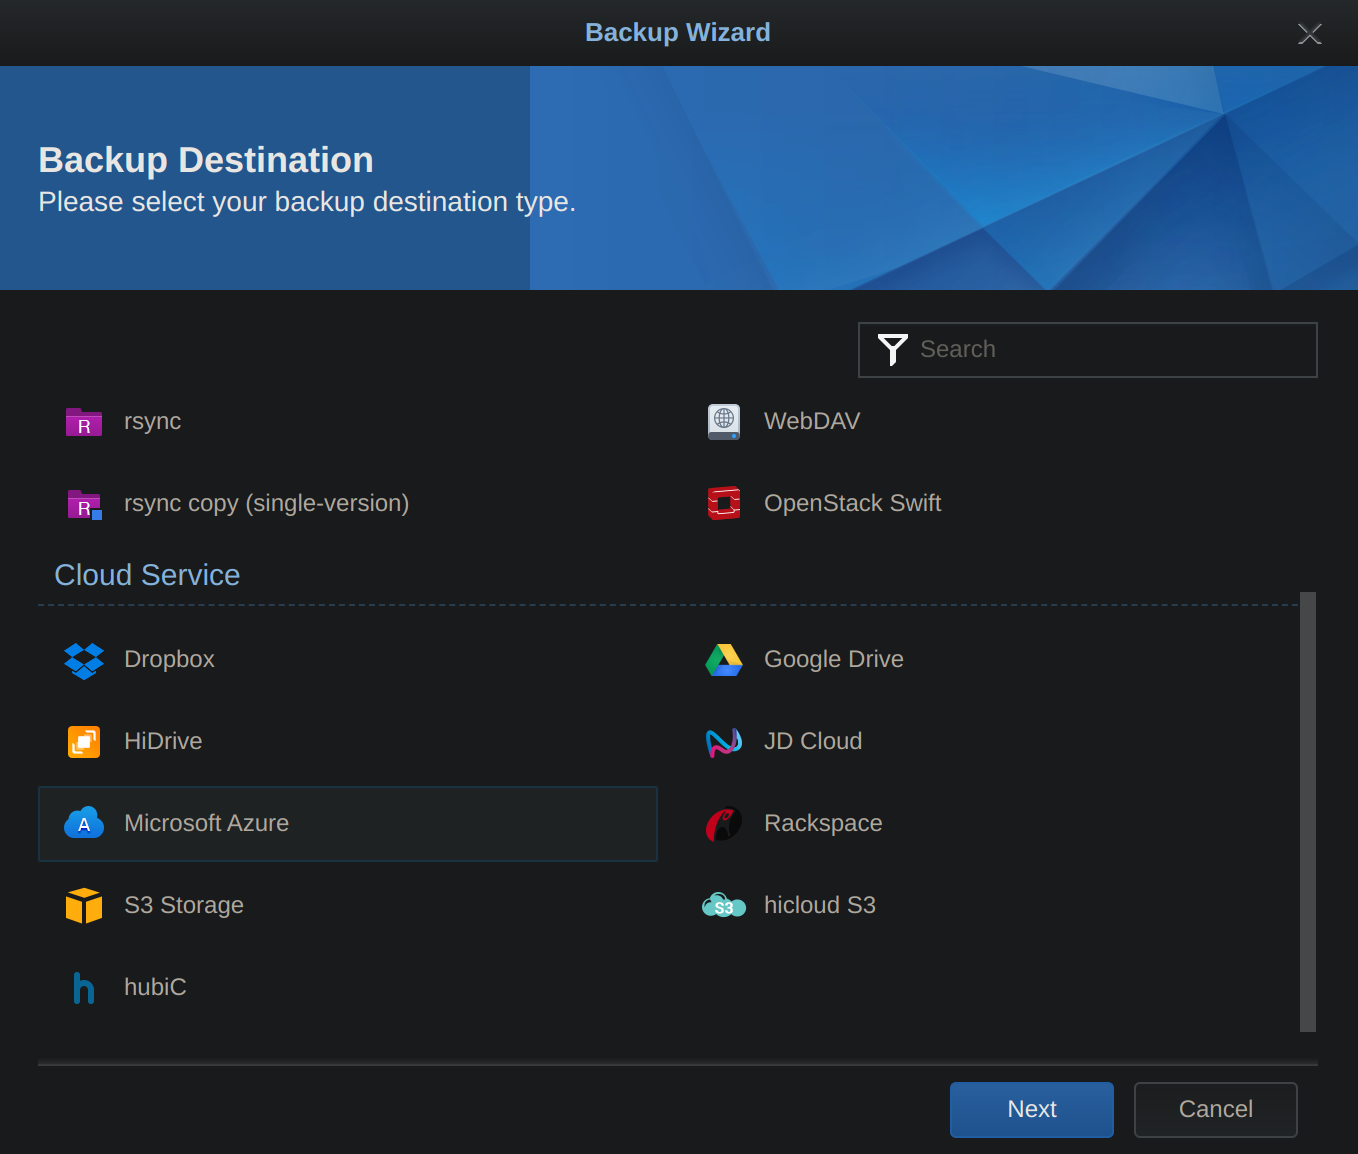
Open Hyper Backup and click the ‘+’ symbol in the lower left corner, and then click ‘Data Backup Task’. Then, choose ‘Microsoft Azure’:
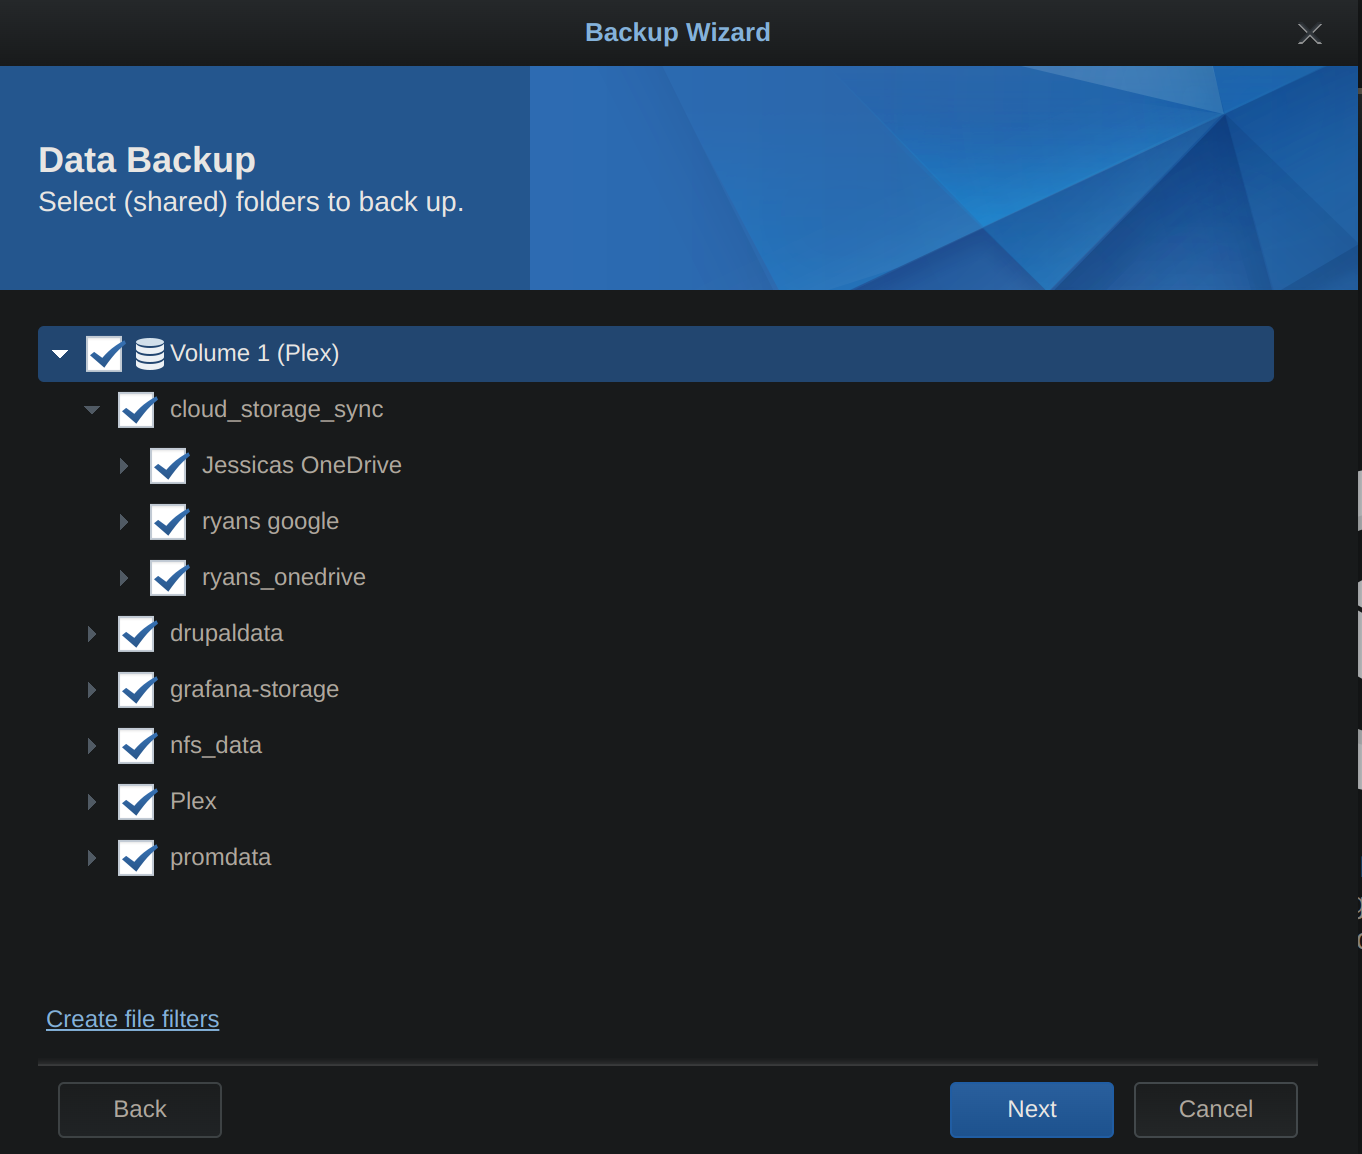
On the next page, enter in your Storage Account info and then click Next. You can then choose which local folders on your Synology to backup:
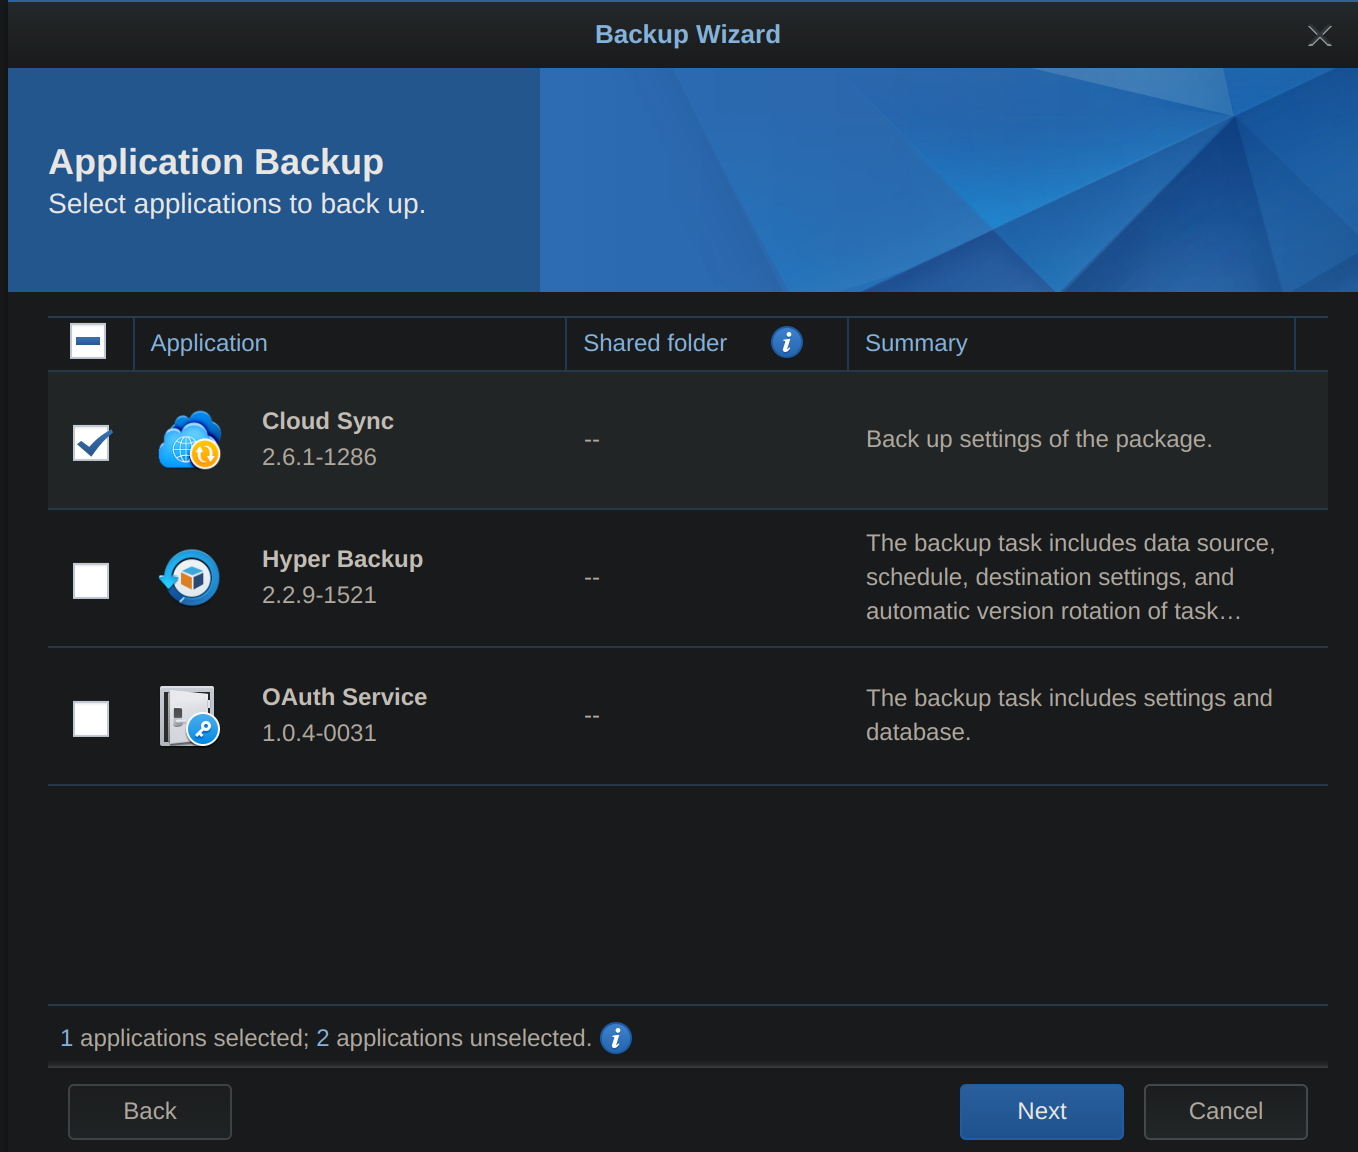
Click next and choose to backup application settings:
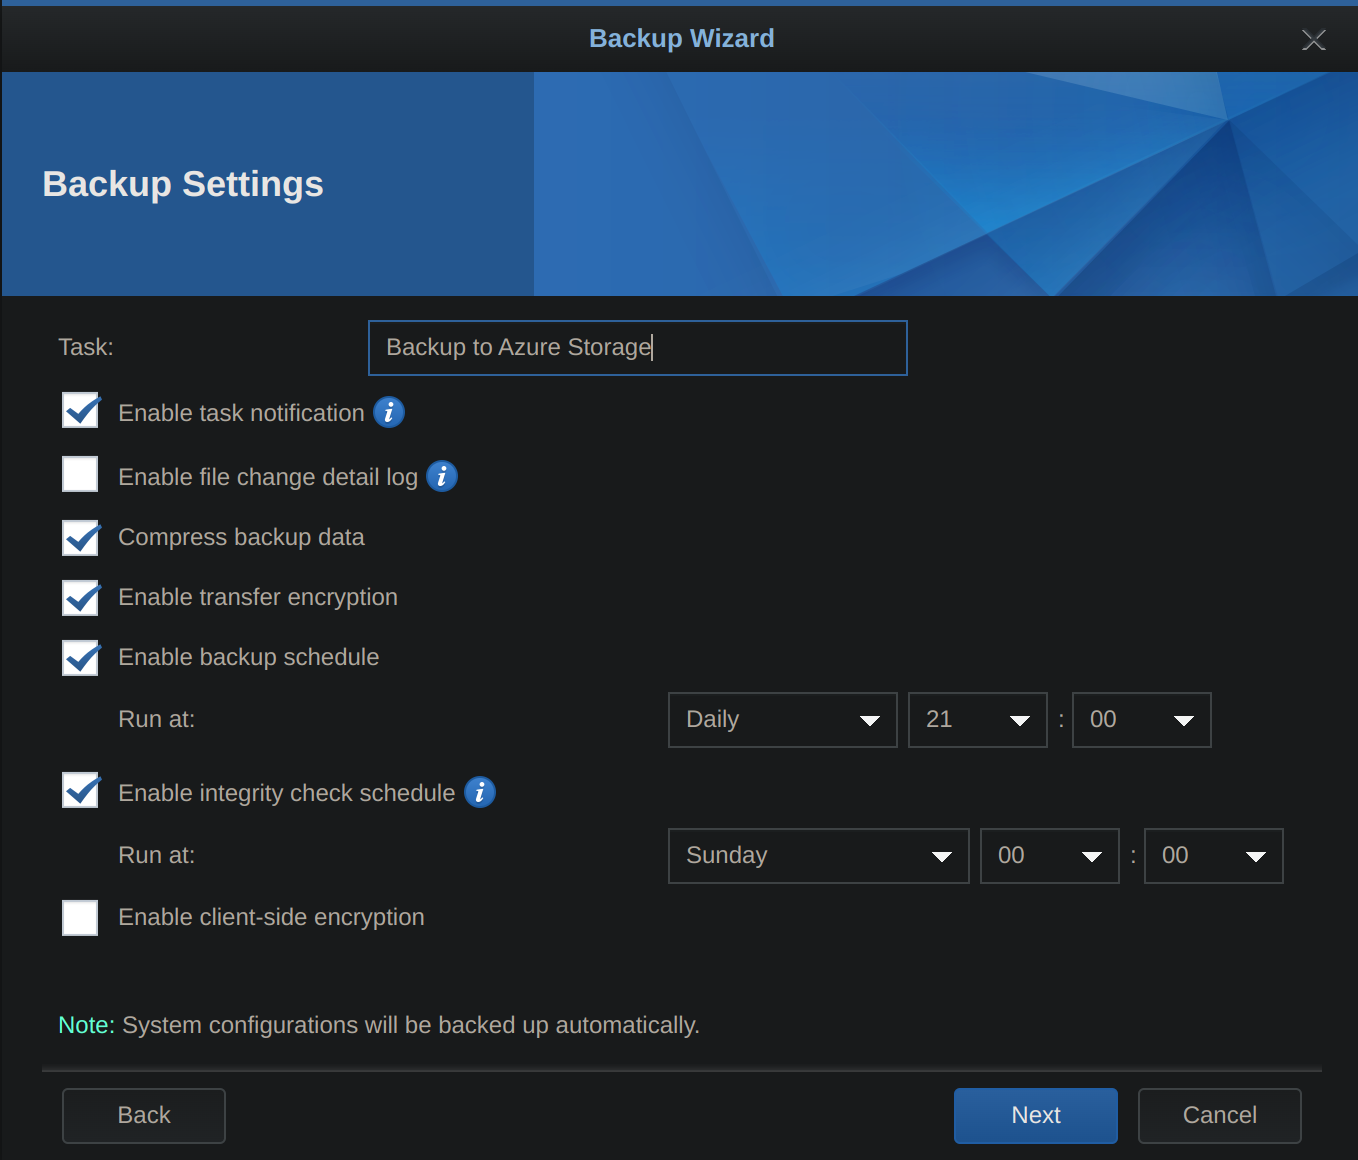
On this page, we can configure the backup settings. Name the task, and configure your notification settings, schedule, compression, and encryption.
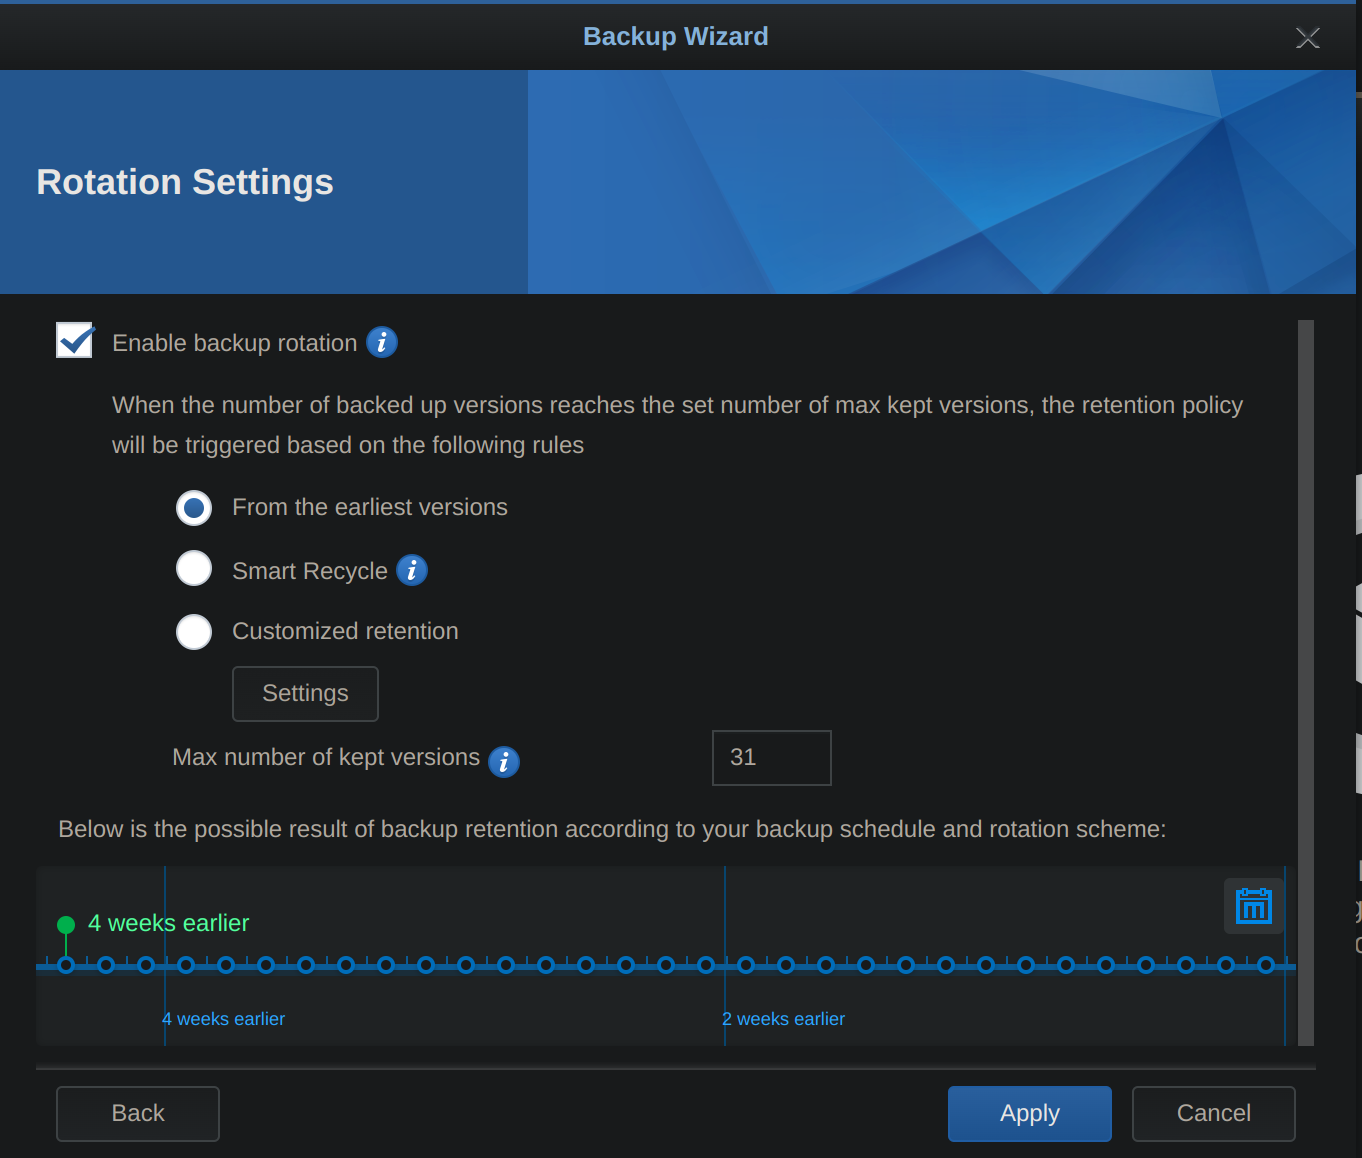
On the last page, we configure our backup rotation settings. I am going to keep 31 days of backups, starting from the oldest backup. This means that at any given time I will have 31 days worth of backups in the storage account.
That’s all for configuring the backups! Very simple. Depending on how much data you have and your ISP, it may take a while to backup your files. If you configured notifications, you should receive a notification once the job is complete.
